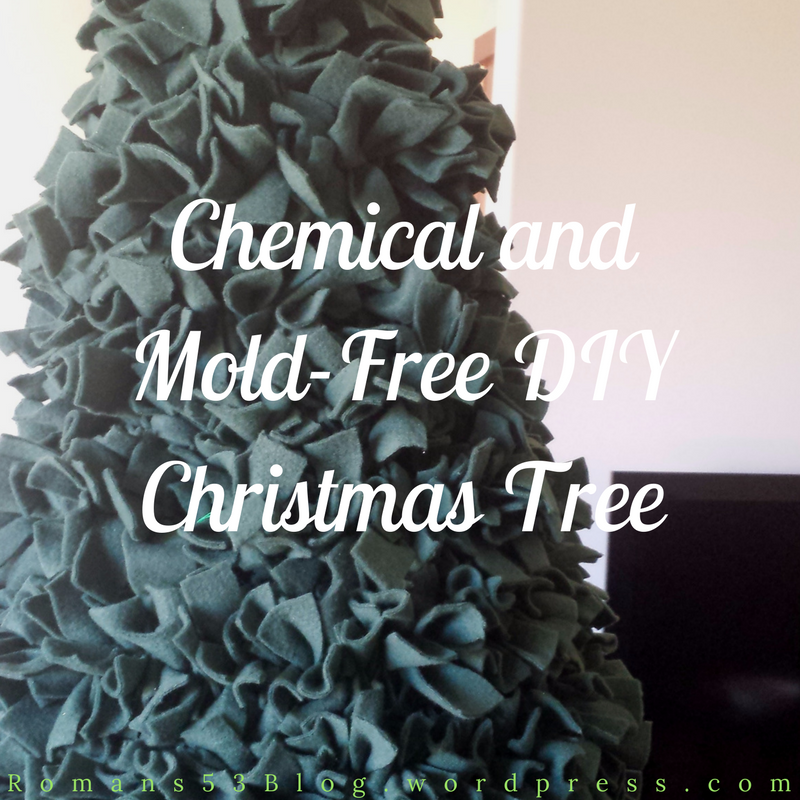
Hello there! Today I have an extra post for you. That’s right! A Christmas tree. It’s been updated and modified since last year’s tree. And even better, this one is reusable, and strong enough to sport real ornaments rather than paper ones (though those were fun too).
You see, as you may know, traditional Christmas trees can be hard for those with MCS (Multiple Chemical Sensitivity) or mold poisoning. Why? Well, real trees may be full of mold (and/or chemicals), and fake trees also are strong on the chemical side and need off-gassing. If you buy a used fake tree, then it’s usually been in someone else’s house that was either moldy or chemically.
Alas.
But thankfully, we’ve had some fun and discovered a way to make a reusable and decent-looking Christmas tree. The only drawback is some upfront time investment. But it’s not so terrible… just gather the family for a Christmas movie (or two or three) and get ‘sewing’ (don’t worry, it’s not real sewing). My favorite Christmas movie is Elf (long story). What’s yours?
Supplies Needed:
- About 4 green, tree-colored blankets
- One sewing needle per person
- Friendship-bracelet string (again, tree-colored… so green)
- Christmas ornaments and lights (optional)
- Things to make your base with. You can be creative, but we used the following:
- Chicken wire
- A pool noodle
- Metal… poles? Tubes? If you can tolerate them, PBC pipes might work. You need two the width of the bottom of your tree, and one the height of your tree. I think we might have used a combination of materials we had, including a curtain rod.
- A tall glass vase as the base. Again, be creative. You could also use a bucket or something.
How to Make it:
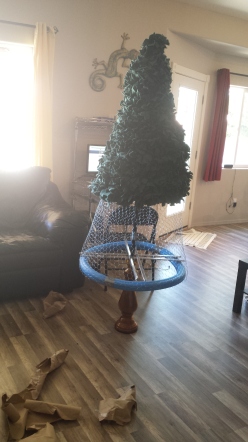
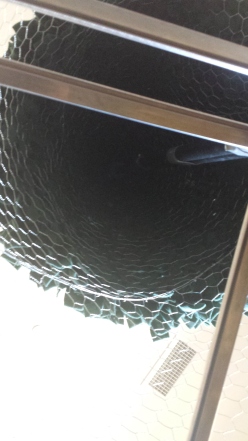
- Make your ‘base’ using the chicken wire, pool noodle, poles, and whatever you decided to use for the base of the base. Make sure it’s sturdy, but don’t worry if it’s perfect of if the chicken wire bows in a little. Trees aren’t supposed to be perfect after all. See pictures below to get the idea. Sorry I didn’t get a complete picture of our base before we put greenery on it. 🙂
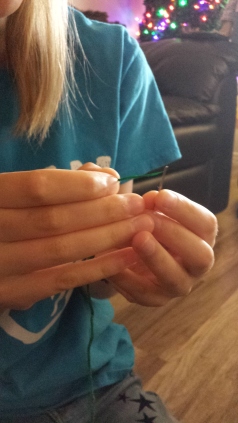
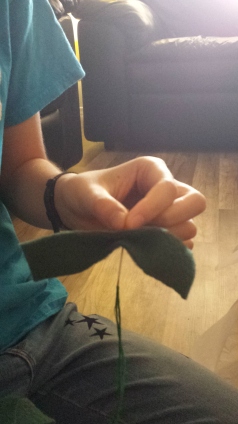
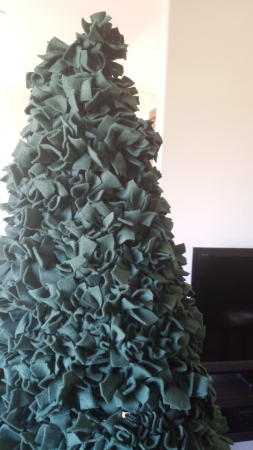
- Now comes the time-consuming part: the greenery. First, cut the blanket into small strips. Pinch those strips in the middle and slip them onto the bracelet string using your needle, making long, thick snakes. Here’s how it works… actually, the pictures will explain it a whole lot better than I could:
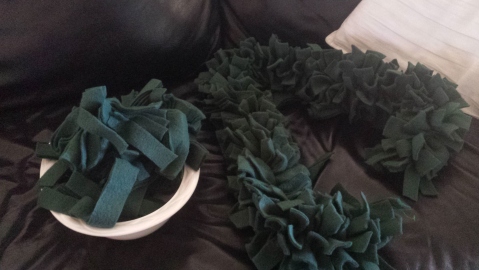
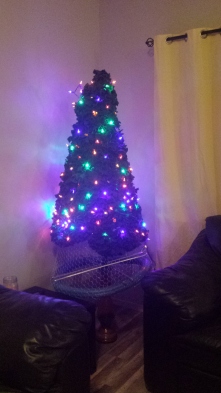
3. Now, wrap it around the tree and add decorations! (If you didn’t notice, the greenery could also work as a wreath 🙂 )

P.S. What do you think of the new look for R535? Do you like the green? Anything you think would improve it? This is for you- I want to know what you think! 🙂 And the snow… that one won’t be permanent, but do you like it during Christmas-time? Do you think it’s fun, or is it a bit overwhelming and distracting? 🙂
I love the Christmas theme! That tree looks really cute too 🙂
Thanks! 🙂
Your safe Christmas tree is genius! It looks awesome. 🙂 And the themed blog design is so fun!
Thanks! All credit to my mom for the idea (though I think she found it on Pinterest or something), and my family for making it… I just ‘supervised’ XD. Glad you like it!
Looks awesome! So cool! I love the website, especially the snow <3 🙂
Thanks! 🙂
Hi Sara! What a great idea! It looks awesome! 🙂 And the snowflakes on the blog are super fun! 🙂
Thanks! 🙂
That is such an amazing and creative tree, AWESOME JOB!!! 😀 It looks so good!
Merry Christmas, girl! And the theme looks very merry. ;D
Thanks! Merry Christmas to you too!! 🙂 Glad you like it.
I love Elf, and I think I already told you this but I love the tree!
Right? We have a complicated (but fun) family tradition concerning that movie. 🙂 Thanks!